Sunday, May 20, 2012

Ladies Dress #4016

Next Vintage Pattern Lending Library 1912 Project is the Ladies Dress #4016 that came without instructions. It reminds me of the modern magic dresses that are popular right now with a slimmer inside portion and darker outsides although without the hourglass form. It mimics the layered dresses of the time period, but is not truly layered.

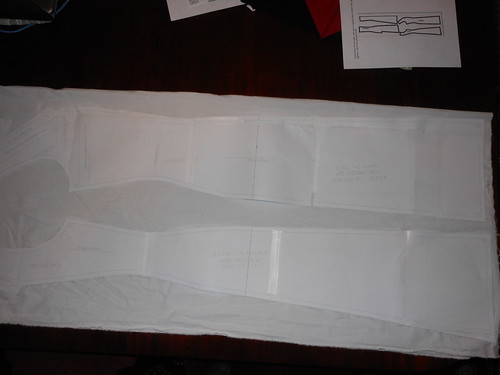
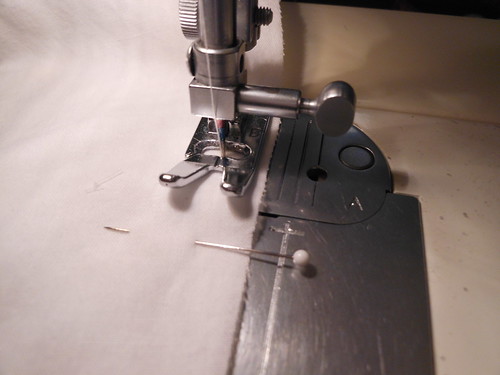
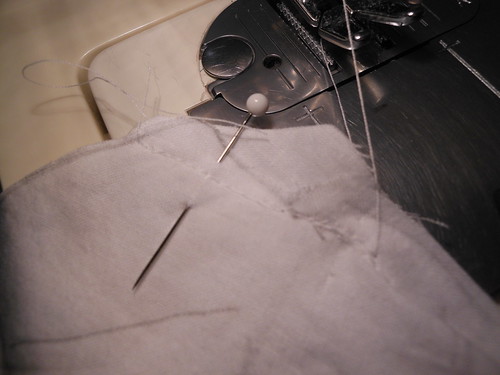
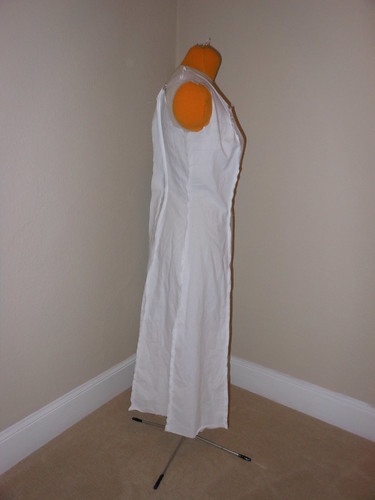
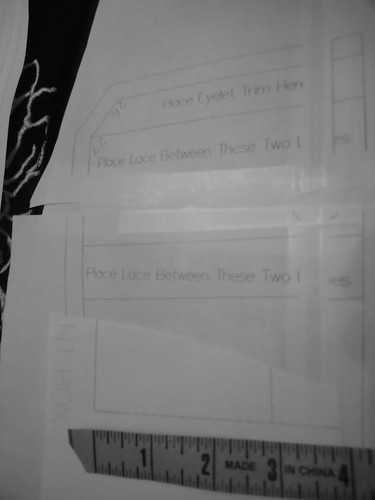
Printed it out and taped it together.  I'm enlarging the seam allowance to 5/8" since that is the standard on my machine and will give more fray and fudge factor. Says it is for a 34" bust.

other flat measurements
natural waist 26.25"
hips (9" below waist) 37.25"
Figuring in ease this is more like
bust 34"
waist 24-25"
hips 34-35"

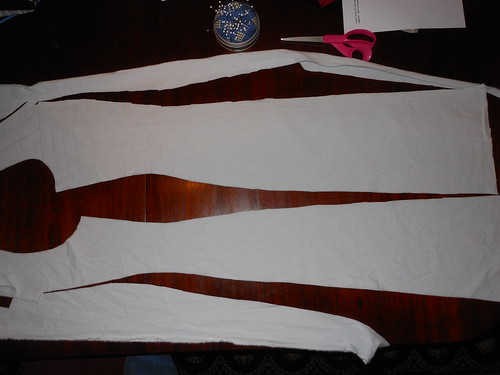
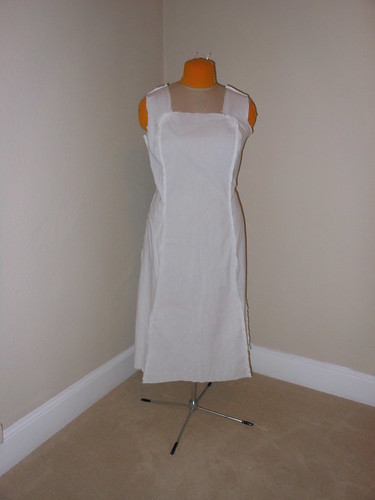
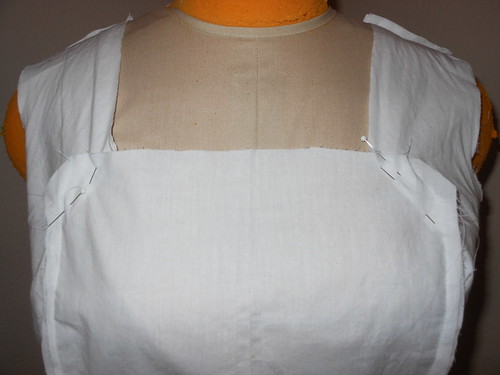
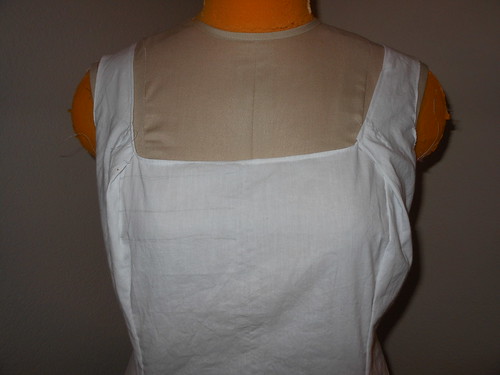
So, I will need to enlarge the pattern by 2"bust to 6"hips and am thinking of splitting down the middle of the skirt front and back. The bodice piece is an odd shape so may need some figuring in to add a couple inches. If neckline is altered then the collar will need to be enlarged.

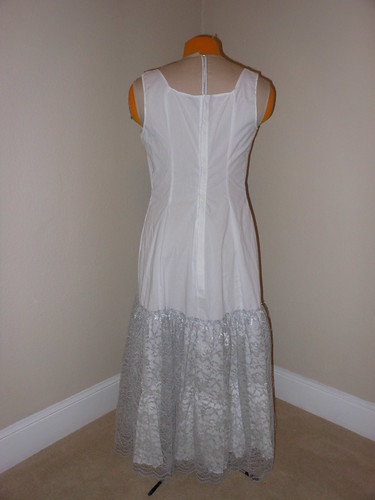
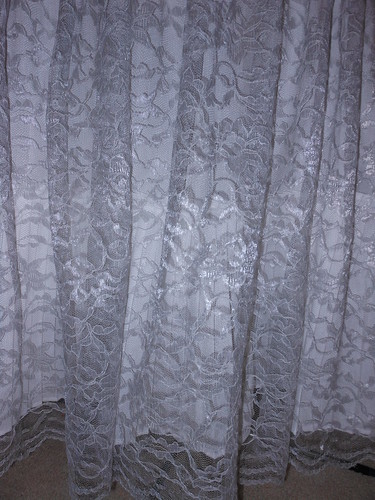
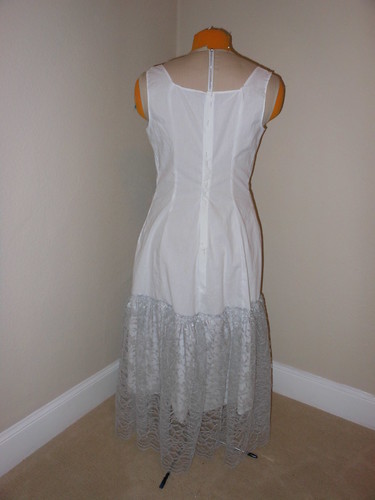
There is no pattern pieces for the bottom border. Looks like it may be made by just adding enough to the bottom to get to the ankle/hem.  Also no pattern pieces for belt, bow or welt trim.

Stitch or Add Gusset 
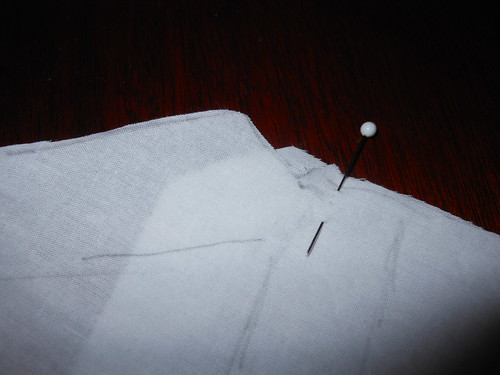
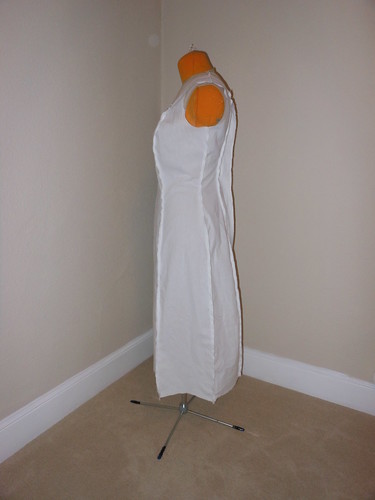
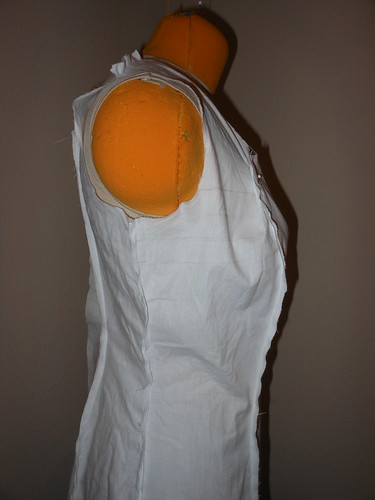
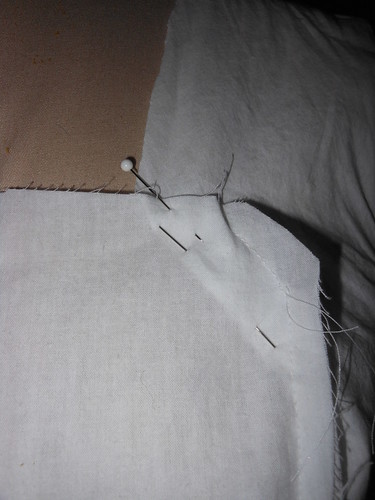
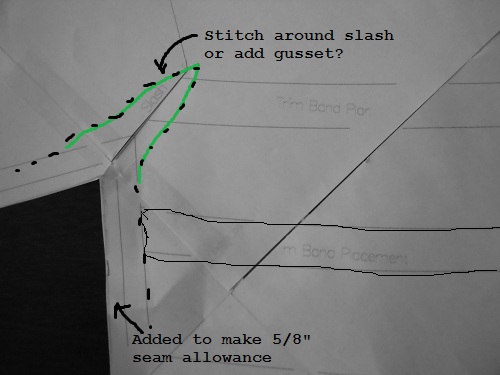
The bodice piece has a line for a slash. The sleeve and side seam lines do not look like the seam is supposed to go up and around the slash. It looks like a place for a diamond underarm gusset except that then the trim band doesn't match up and there was no gusset on the pattern. It is difficult to make an underarm measurement with this pattern since it does not have shoulder seams to see if the armhole area will need to be enlarged.

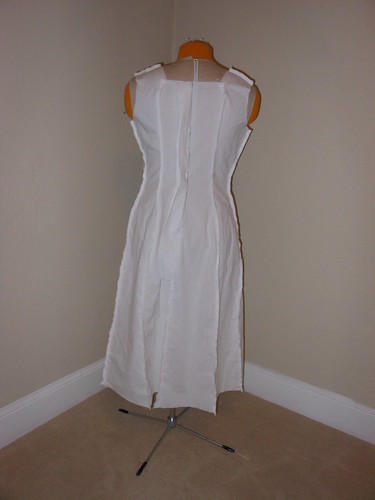
Closures looks like they go up one side of the front.

Saturday, February 25, 2012

Pleats on first mock

Pleats on the first mock under the gray lace. Can't really see them, but they make a different in the fullness. Also added snap tape to the back opening. Not sure that will make it easier to put on by ones' self, but will be much easier to get out of.
Pleating added under lace

Thursday, February 23, 2012

Perfect Pleater Pleats

Using the Perfect Pleater to make pleats for the Princess Slip. White Symphony broadcloth has polyester in it so using the Raja cloth and hoping to set the pleats. Depth doesn't look right so will have to try something else after the mock.
Perfect Pleater Pleats

Saturday, February 11, 2012

Mockup

Used cotton muslin to make up the mockup.  The top is a little too busty and I had trouble where the shoulder straps met the top of the front and back.  Not sure whether the slip is supposed to be loose and the waist and hips need widening or  if the bust should be taken in.

Laying and cutting the pattern
Laying Pattern
Cutting Pattern

Odd corner not matching up

Pinned together
Pin it all

Sewing 3/8" seams
Stitch 3/8"

The funky corner
The funky corner

The mockup
Ladies Princess Slip Mockup Front
Ladies Princess Slip Mockup Left


Ladies Princess Slip Mockup Back
Ladies Princess Slip Mockup Right

Bunchy too much fabric up top
Detail too much in bust
Corners not matching


Detail of corner not matching

Because muslins seem wasteful, I went ahead and cut in the top front and inner straps, did narrow hems, and added lace so it could be used with a blue Titanic dress.  Both the slip and the dress still need closures and the dress will have a belt.

Top still funky
Still bunchy up top

Adding lace
Adding lace, back still needs closures

Lace slip under blue dress

Wednesday, February 08, 2012

Pattern Printed and Taped

Printed out the pattern. 3" is 3" on the side of one of the squares. Papers didn't seem to match up exactly so added some spacers.
Waist = 30"
Underarm = 43" (not sure if that is bust or above bust)
Hip = 46" (9" below waist)
waist to bottom (29") + 8" flounce = 37" which is just right for petite. Need it slightly shorter than the length of a dress so it doesn't show under the dress.
Pattern Taped
Taped and measured.
Spacers
See how it should say "...Two Lines" but is missing the "in"?  That's why the space was added.  Tape measure is at an angle here.  When flat it lined up exactly with the side of the box.

Received and printed Ladies Princess Slip #0336


Wednesday, January 04, 2012

1912 Project

I have volunteered to do some sewing for the 1912 Project at the Vintage Pattern Lending Library (www.vpll.org).  With the 100 year anniversary of the sinking of the Titanic, they are drafting patterns from 1912 starting with April.  I will blog about the pattern I receive.